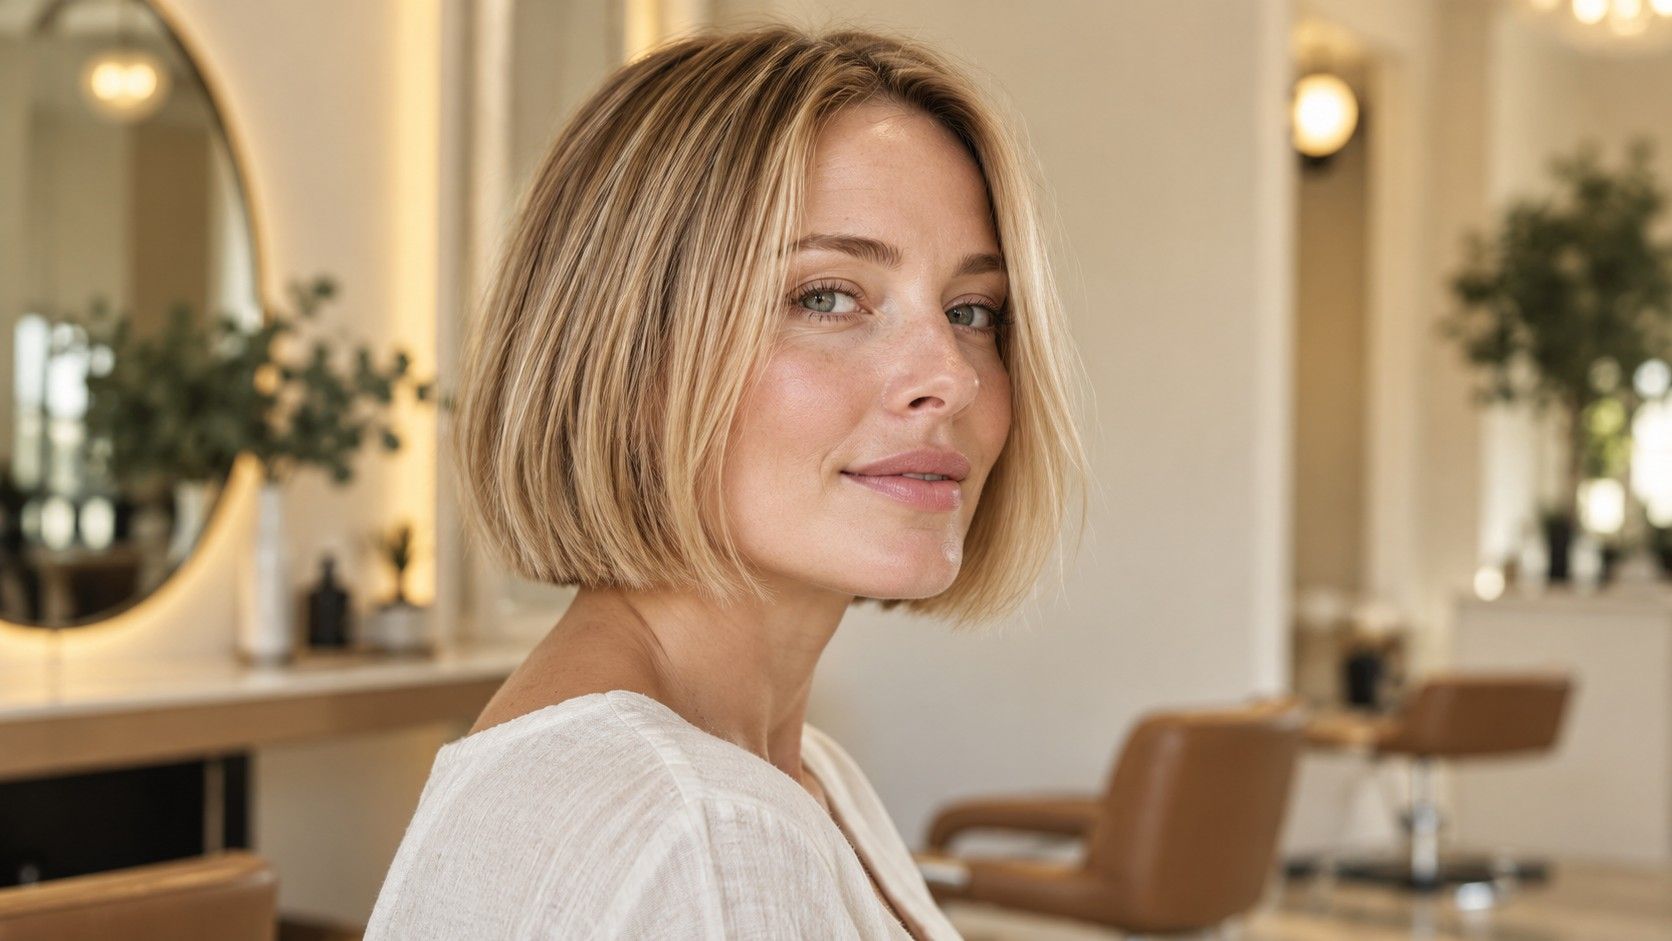
A virtual hairstyle try on can make a short haircut easier to discuss. It lets you compare an exposed jawline with a longer outline and see how a fringe changes the amount of forehead on show. Its strongest use is narrowing those broad choices before an appointment. The image still needs translating into real hair: the software cannot establish how your crown grows, how much your curls shrink or how easily you can reproduce the finish. Treat each preview as a visual question to take to a stylist.
Start with a photograph that keeps your proportions clear
Use a recent photograph taken straight on, with your head upright and your face comfortably relaxed. Place the camera around face height and avoid the close, wide-angle view of an outstretched selfie. That perspective can change the apparent relationship between your cheeks, chin and hair. You want the haircut comparison to carry the change, rather than a different camera angle doing half the work.
Choose even lighting that leaves both sides of the face visible. A window beside you may create a deep shadow along one jaw; bright light directly behind your head can obscure the outline. A plain background makes the hair edge easier to inspect. Keep a little room above the crown and beside the shoulders so the preview is not forced into an unusually tight crop.
Follow the chosen tool's instructions about moving existing hair away from the face. If long hair covers your jaw or lies across your cheeks, a new bob may be placed over an incomplete view. Avoid accessories that block the area you want to compare. When glasses are part of your daily appearance, you can also make a separate comparison with them on, provided the tool can handle the frame without distorting it.
Compare three lengths with everything else held steady
Begin with a small set: a longer bob below the chin, a jaw-length version and a shorter outline if that interests you. Use the same source photo, colour and approximate texture. If every preview changes the lighting, hair colour and makeup as well as the cut, it becomes hard to know what you actually prefer. A dramatic new colour may be doing more work than the shorter length.
Use landmarks on your own photograph to describe the difference. “The ends clear my shoulders” and “the front stops beside my mouth” are more useful observations than the style name printed beside an image. A label such as French bob can cover several lengths and fringe arrangements. The image's visible proportions are what you are comparing.
Save the strongest two or three options and view them at the same size. Ask what you like about each: more neck visible, less weight beside the cheeks, a fuller outline around the ears, or an easier-looking front section. You may discover that the appealing feature is an off-centre part rather than the shortest cut. That is a useful result, even if you keep more length than expected.
Inspect the edges before trusting the overall effect
A convincing face in the centre can distract from strange hair around the outside. Enlarge the preview enough to look at both ears, the jawline and the nape area. Watch for hair that disappears into a cheek, an ear that has changed shape or a necklace partly replaced by strands. These details suggest the image has reconstructed more than the haircut itself. They reduce its value as a precise length reference.
Check whether your actual face remains recognisable. If the jaw is narrower, the neck longer or the skin heavily smoothed, compare the source and result side by side. You may like the altered portrait while being uncertain about the haircut. Keep the original photograph alongside any saved version so the stylist can see what the tool changed.
| Preview detail | What it can help you discuss | What still needs checking in person |
|---|---|---|
| Ends beside the jaw | Your preferred amount of face framing | Dry length and movement on your own hair |
| Fullness around the ears | A rounded or narrower silhouette | Density, layers and natural growth |
| A fringe above the eyebrows | How much forehead you want visible | Hairline direction and daily styling |
| A smooth, compact back | The amount of neck you like exposed | Nape growth and the side-to-back connection |
Be particularly cautious about a front-facing image that appears to show an exact back shape. The unseen nape has been estimated. Bring a separate real haircut reference for the back, or ask the stylist to explain a suitable connection. The preview cannot supply reliable evidence about an angle that was absent from the original photo.
Test the fringe as its own decision
A fringe changes the composition of the face enough to deserve a separate comparison. If the tool allows it, keep the bob length steady while testing an open forehead, a longer swept front and a shorter fringe. Do not reject a useful bob length simply because it arrived with a fringe you dislike. Equally, a fringe you enjoy might work with more length than the preset provides.
Look at the visible edge rather than the style label. Is it heavy or separated? Does it reach the brows or stop well above them? Does it sit close to the forehead or curve outward? Save the version whose shape you can describe. A stylist can work with “a light fringe that clears the glasses” more easily than an unexplained screenshot.
The software's fringe may lie neatly across a hairline that naturally separates or lifts. Before deciding, check your front section after a normal wash and notice where it wants to part. Bring that observation to the appointment. If your natural texture is curly or wavy, discuss the fringe at its dry length and ask how it will behave when you skip a full styling session.
Challenge the finish with your ordinary routine
The preview may show smooth, dense ends even when your hair is fine, or effortless bends that would require styling on your texture. Consider the finish you wear most days. If you air-dry, ask whether the reference's outline is plausible with air-drying. If you use a brush and dryer, explain how much time you normally spend and whether you are comfortable adding a new step.
A useful exercise is to write one practical sentence below each saved image: “I like this length, but I need the sides to tuck,” or “I want this shape with my natural wave.” It separates the visual attraction from an assumption about maintenance. The stylist can then assess which features suit those requirements and which would need a change.
Also consider what is missing from the image. It shows one clean arrangement, without the flattened back after sleep, a windy commute or hair gathered for exercise. The tool cannot test whether all the short sections will reach a clip. If tying your hair back is essential, state that early; a visually appealing chin-length shape may not meet that requirement.
Bring a small, useful set to the salon
Take the original photo, one preferred preview and an alternative that feels too short or too full. Add a real haircut photograph with a similar texture if you have one. This small set makes the boundaries clear without asking the stylist to reconcile a dozen unrelated silhouettes. Explain the feature you like before handing over your phone, so the conversation begins with a decision rather than guesswork.
Ask the stylist what would change when the preview is translated to your hair. Discuss the dry endpoint, the back, the front section and the daily finish. If they recommend a longer first version or a different amount of layering, ask which behaviour in your hair informs that advice. A clear explanation lets you decide whether the adaptation preserves the quality you liked.
Before uploading a photograph to any tool, check its current upload, storage and deletion information. Account requirements and image handling vary, and a preview's convenience does not establish how the photo is used. Once you have a useful result, keep a copy you can access at the appointment if saving is available. You do not need to continue generating variations after the important choices have become clear.
The most productive outcome is a request you can say aloud: a certain dry length, a particular amount of volume and a front section you can manage. The preview helps you reach that request. The final haircut still depends on examining your real hair and agreeing on a shape you are comfortable wearing.