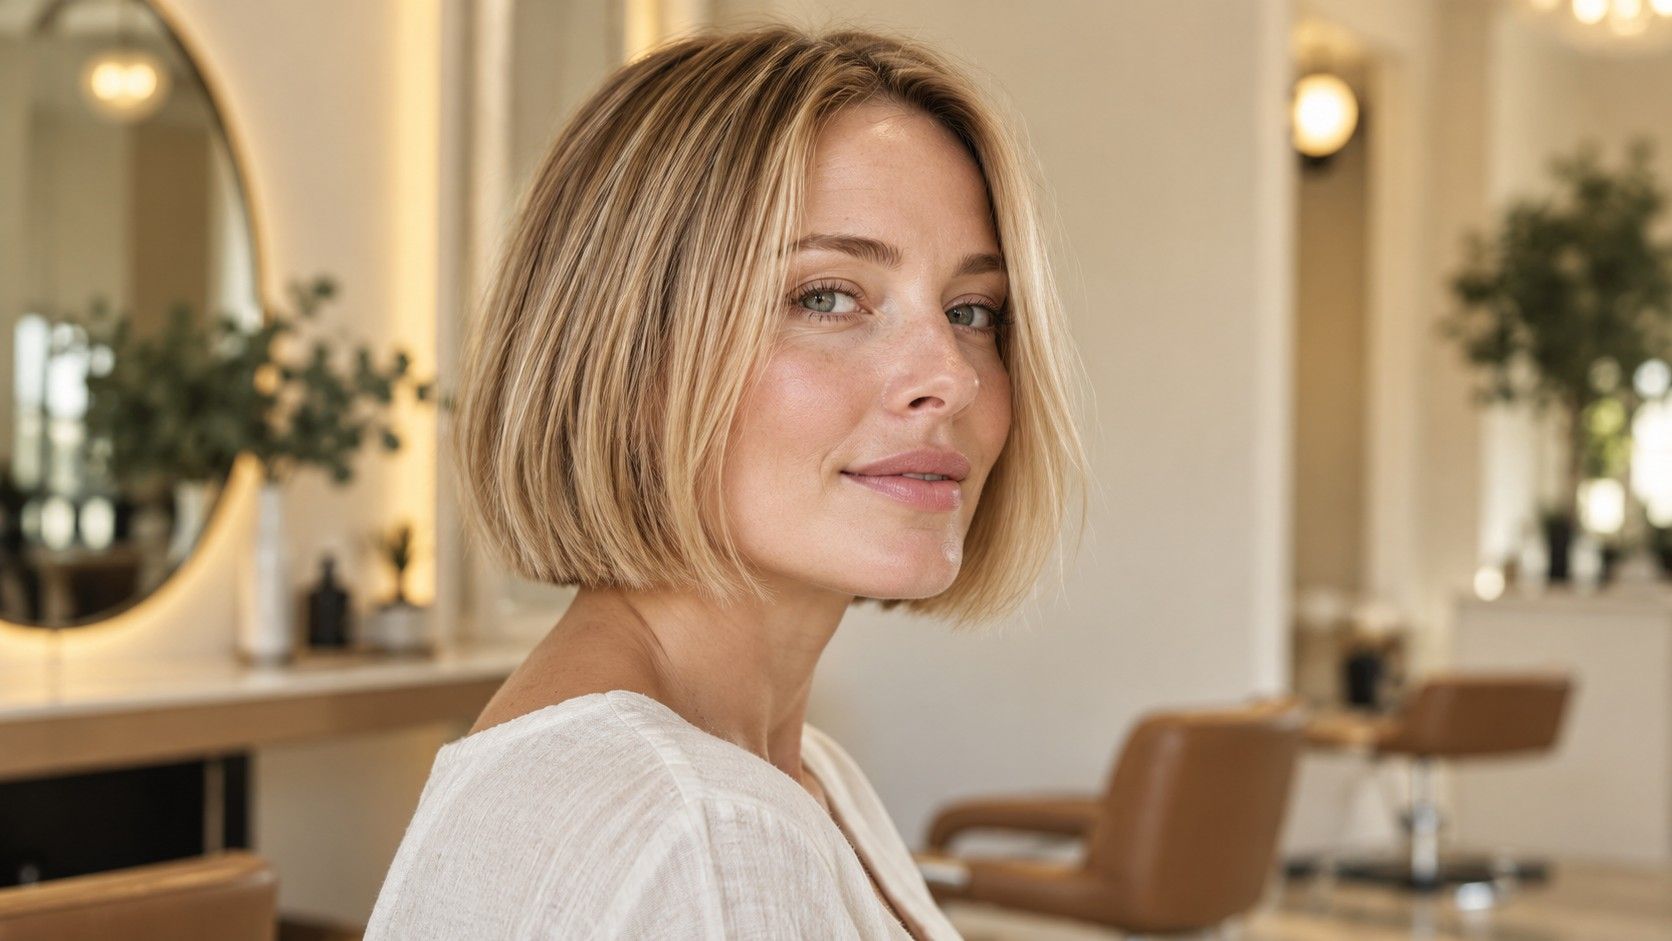
A blunt edge can make fine hair look more substantial because the ends arrive together instead of fading into thin wisps. It cannot add hair, and a perfectly solid line is not always the same as a comfortable shape. The useful aim is an edge with enough weight to read clearly, supported by a length and styling routine your hair can manage. Start by separating strand thickness from the amount of hair you have.
Check whether the problem is fine strands or sparse ends
Fine describes the thickness of individual strands. Density describes how closely those strands are distributed across the scalp. You can have fine hair with plenty of density, or fine hair with less coverage. Those situations may need different cutting decisions. Look at the dry ends against a plain shirt, then look at how the hair sits around your usual parting. Avoid judging density from a tightly pulled ponytail or a single photograph under strong overhead light.
For a blunt bob on fine hair, the immediate question is whether the proposed length has a reasonably continuous edge. Long hair can have sparse-looking ends because of previous layers, wear or the way the haircut was shaped. Bringing the perimeter up to where more hair reaches may create a clearer outline. The stylist should inspect it loose and dry; a wet section held tightly between fingers can conceal gaps that appear once the hair falls naturally.
Tell the stylist about your usual finish. Straight hair that lies close to the head will display a perimeter differently from fine waves that gather into separate clumps. If you air-dry, show that texture before the wash. A sharp reference photo taken after a polished blow-dry may still help, but it should not become a promise that your unstyled hair will form the same sheet.
Put the edge where enough hair can reach it
A one-length outline preserves weight at the bottom. That can be useful when fine ends disappear against the neck or look transparent near the shoulders. Shortening is not automatically better, though. A very short line can expose a difficult nape growth pattern, while a shoulder-touching line may flick outward. Compare a dry landing point around the chin with a slightly longer option, considering your hairline and where the ends naturally bend.
Ask to see the perimeter with your normal parting and your head upright. If you often move your parting or sweep hair to one side, mention that before the final check. A line balanced for a strict centre part may fall differently when you push most of the front over. The cut should accommodate the movement you actually use, rather than looking complete only after each section has been combed into a fixed position.
Blunt does not have to mean a harsh, immovable edge. A stylist may gently soften the surface or adjust a corner while retaining a strong outline. What matters is how much density remains at the ends. Ask to see where any texturising will happen and what it is meant to improve. “Keep the perimeter full” is a useful instruction; demanding one technique everywhere is less helpful when the crown and nape behave differently.
| What you notice | Discuss in the chair | Check before leaving |
|---|---|---|
| Wispy lower ends | A shorter, fuller perimeter | Whether the edge remains continuous when dry |
| Heavy sides but a flat crown | Small, targeted shape adjustments | Whether the change still works without backcombing |
| A strong nape flick | Length and growth direction at the back | The outline with your head upright |
| Ends that separate after styling | Product quantity and how the cut falls | Movement after brushing and turning your head |
Protect the ends when discussing layers
Layers move some hair away from the perimeter. On fine hair with a delicate edge, that can leave the lower section looking thinner than intended. It does not follow that all layers are wrong. Dense fine hair, a stubborn crown or a particular wave pattern may benefit from a small amount of shaping. Ask what problem the proposed layers solve and which sections will be shortened before agreeing to a heavily layered reference.
Face-framing pieces deserve the same conversation. A short section near the cheek can soften the front, but it also removes hair from the front corner of the bob. If those corners already look sparse, extensive framing may exaggerate the gap when you tuck your hair behind your ears. Try moving the front into the position you normally wear it and ask how much of that edge the plan would retain.
Be careful with a vague request to “take the weight out”. Fine strands can still create a wide silhouette when there are many of them, yet the weight may be needed at the bottom. Identify the exact area that feels bulky: behind the ears, at the nape or through the sides. A targeted adjustment gives the stylist a clearer goal than thinning through the whole haircut. Once a section is cut shorter, styling cannot restore its reach.
Build a little lift, then let the bob move
A blunt bob does not need a large, stiff crown to look balanced. Start with clean roots and a small amount of a lightweight styling product if you use one. Follow its directions and distribute it where you want support, rather than coating every end by default. Fine hair can separate or feel coated when too much product is added, so test one change at a time before deciding the haircut itself is failing.
When blow-drying, lift small root sections gently and direct the airflow with the shape you want. Use a comfortable heat setting and keep the dryer moving. A heat protectant suitable for your hair and tool can be part of the routine; it does not make repeated high heat harmless. If the roots dry pressed flat against the scalp, rounding only the last few centimetres will change the ends more than the crown.
For an air-dried finish, try setting the parting while the hair is damp, then leave the lengths alone as much as your texture allows. Once dry, loosen the roots with your fingers and assess whether you actually need more lift. Brushing fine waves repeatedly can break up their grouping and change the outline. The best routine depends on whether you want a smooth curtain of hair or a softer edge with visible texture.
Put richer leave-in products or oils only where they are needed, starting with a very small quantity. A heavy finish at the perimeter can make separate strands cling together, which may reveal more gaps in the edge. If you use dry shampoo, follow the label, allow it to settle as directed and brush or massage it through. It is an occasional styling aid, not a substitute for cleaning the scalp when needed.
Check the grow-out before committing to the photograph
Ask how the line is expected to change as it approaches your shoulders and how often you might want the shape refreshed. There is no appointment interval that suits everyone: growth, preferred sharpness and daily styling all affect it. A very crisp chin-length edge may feel different after a small amount of growth, while someone who likes a relaxed outline may be comfortable leaving it longer between cuts.
At the end of the appointment, look at the back and both sides after the hair has been released from the brush. Turn your head, move the parting a little if that is normal for you, and tuck a side behind your ear. Check whether the front corners still feel substantial and whether the nape settles without being held in place. Ask for a demonstration of the shortest workable home routine, using the amount of product you would realistically apply.
Keep a photograph of the finished cut for your next consultation, together with a simple note about what happened at home. “The right side flicks after air-drying” or “the front falls out when I tuck it” gives a stylist something concrete to adjust. If you liked the edge but wanted more crown lift, say that separately. Preserving the successful perimeter while changing one detail is often a clearer next step than replacing the whole shape.